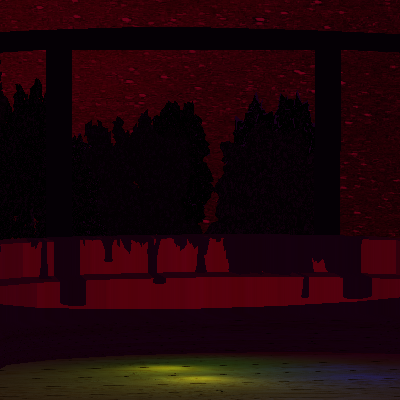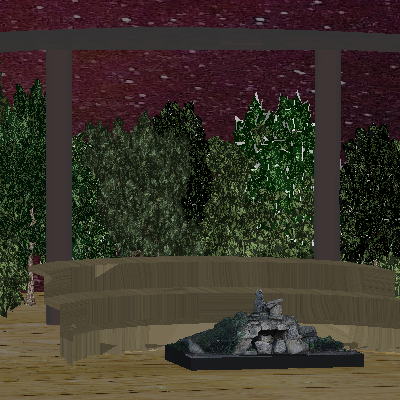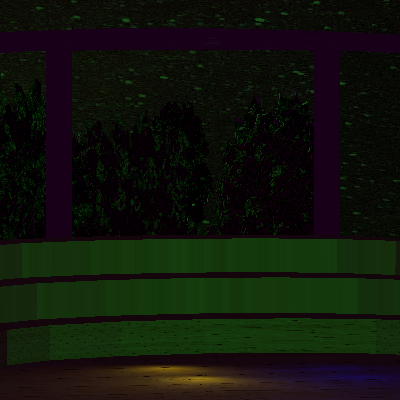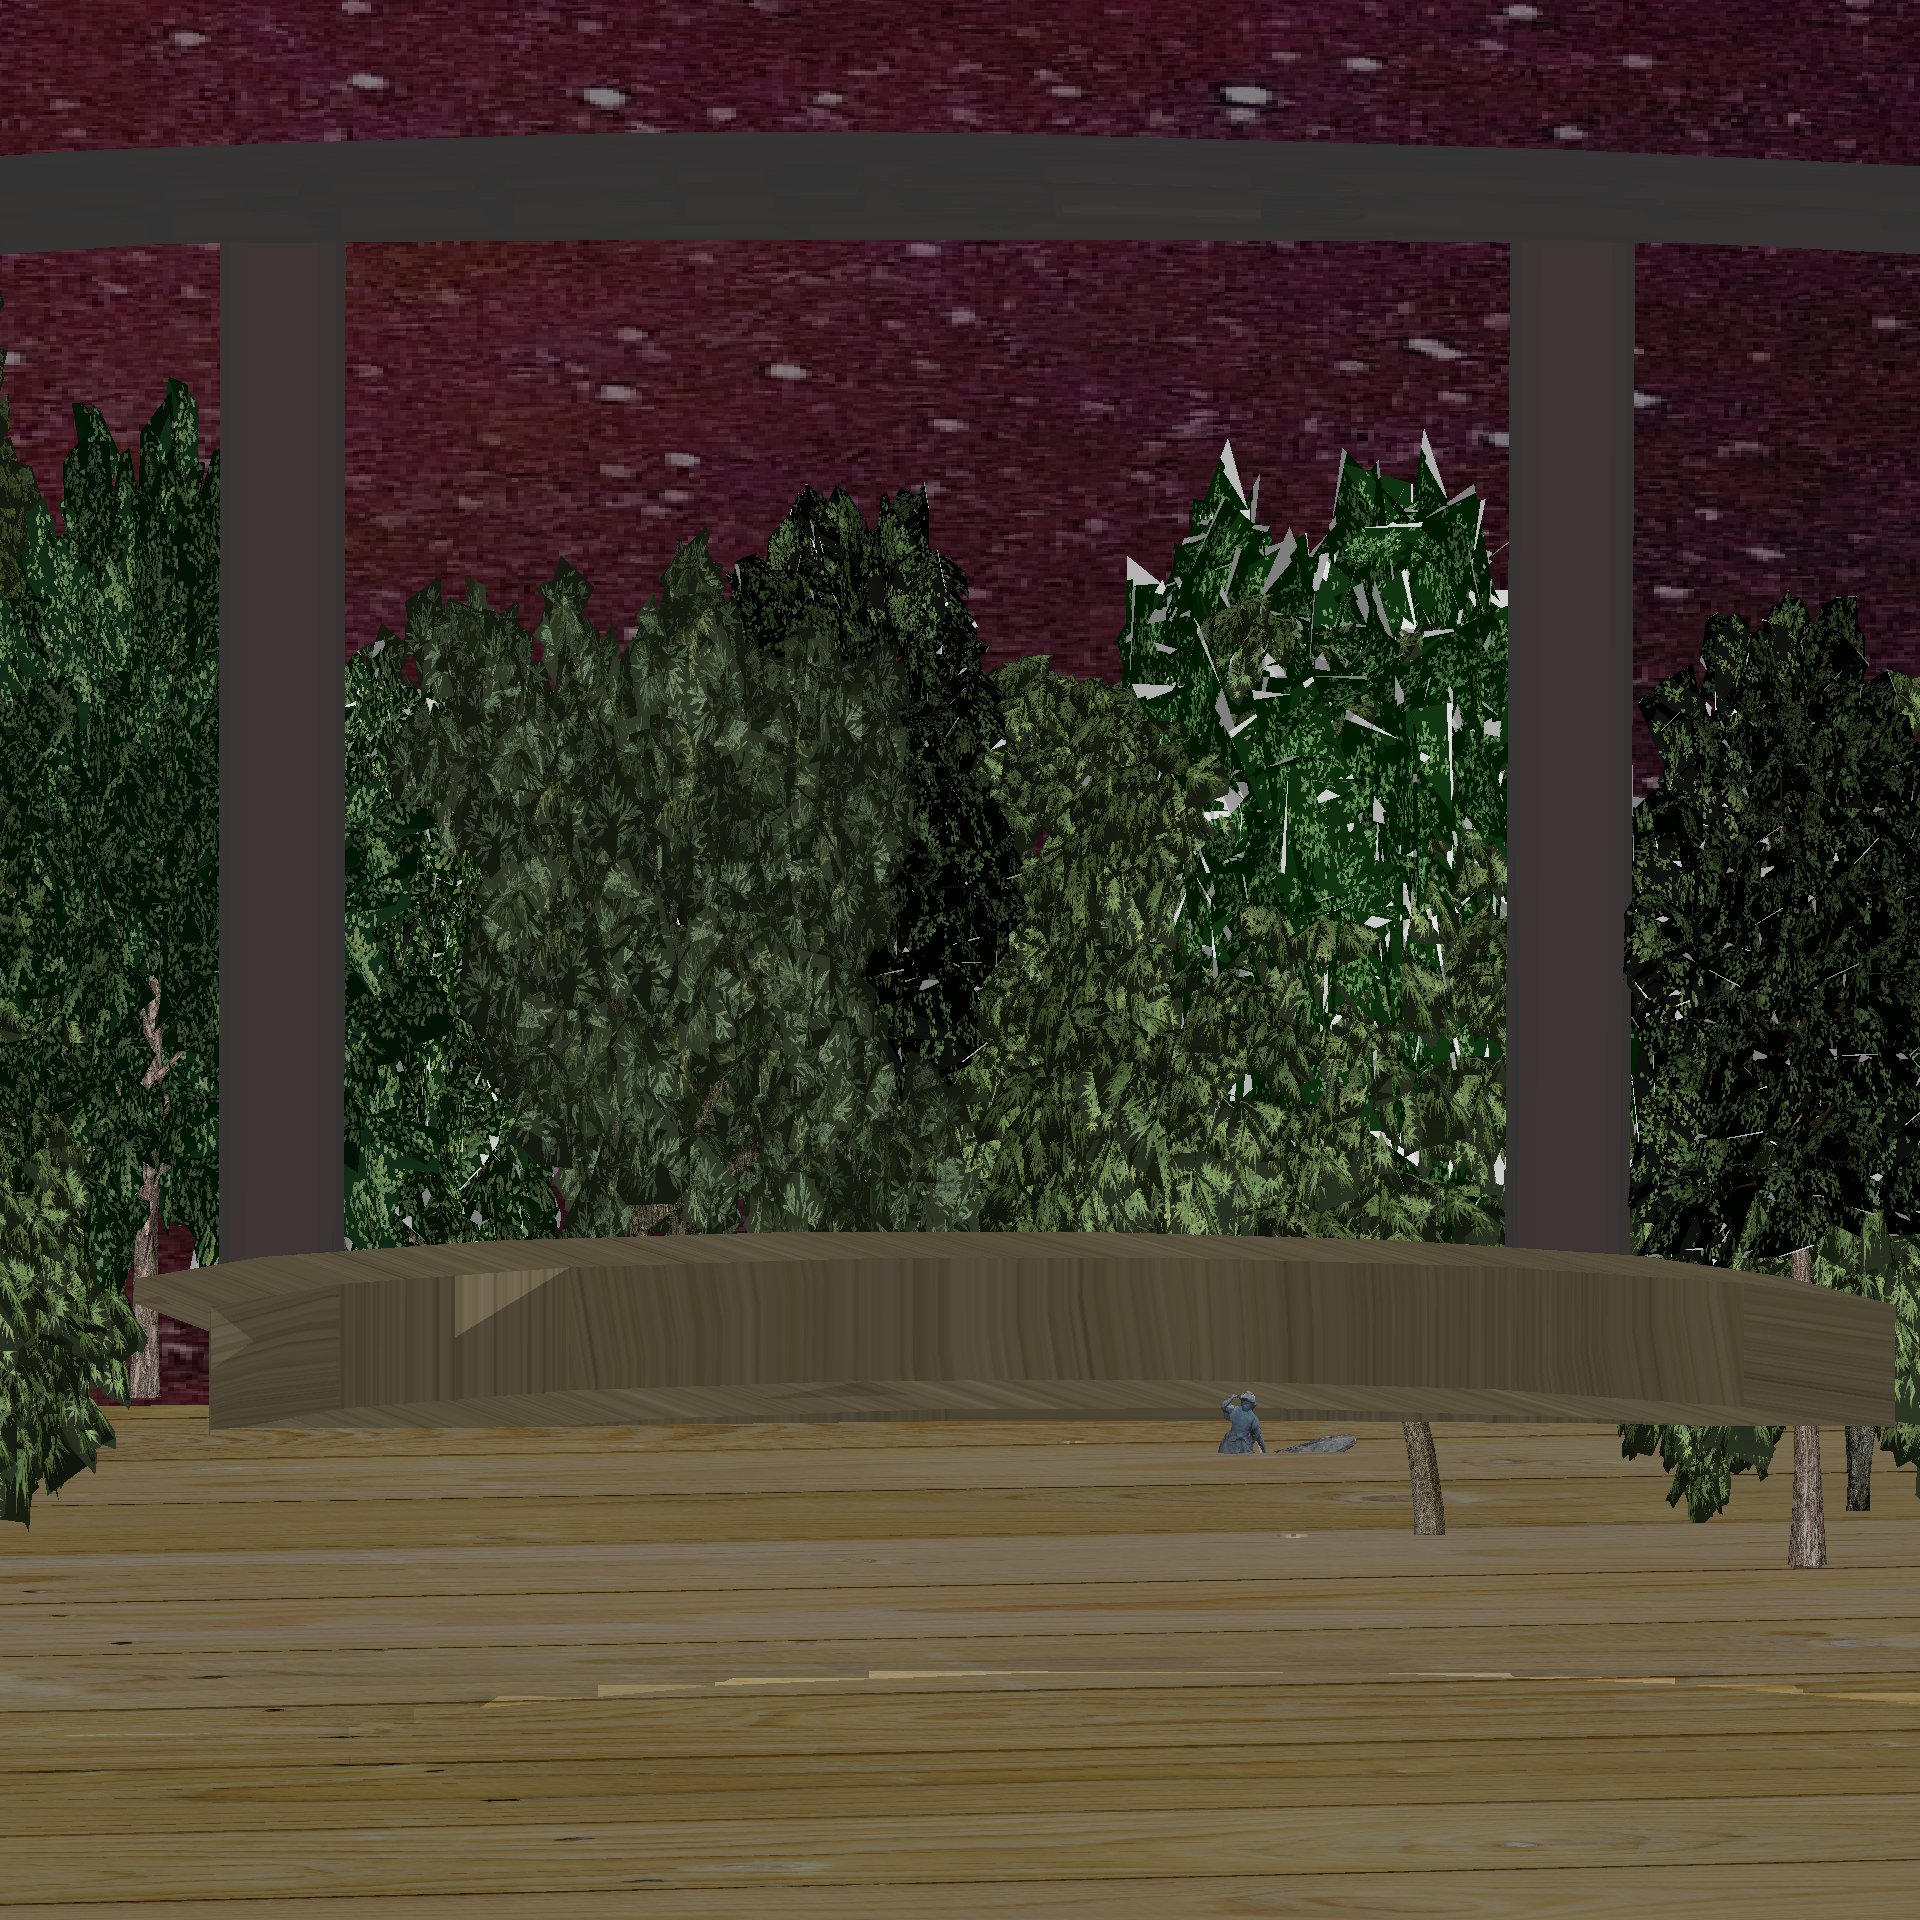
The Zen
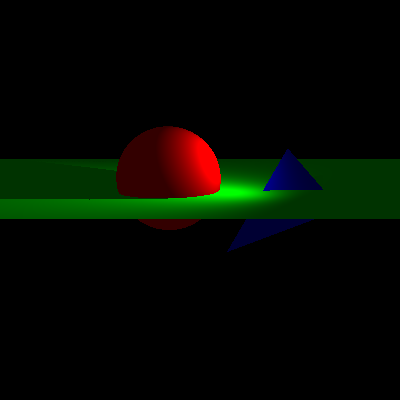
A Raytraced Concept
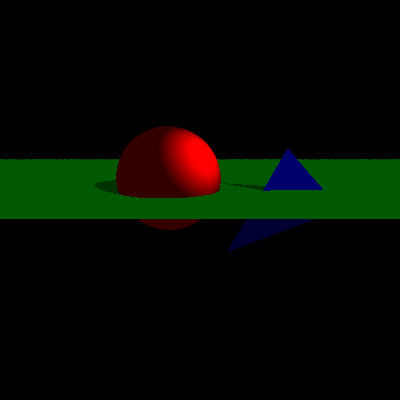
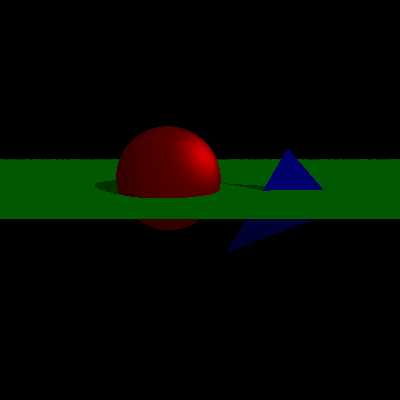
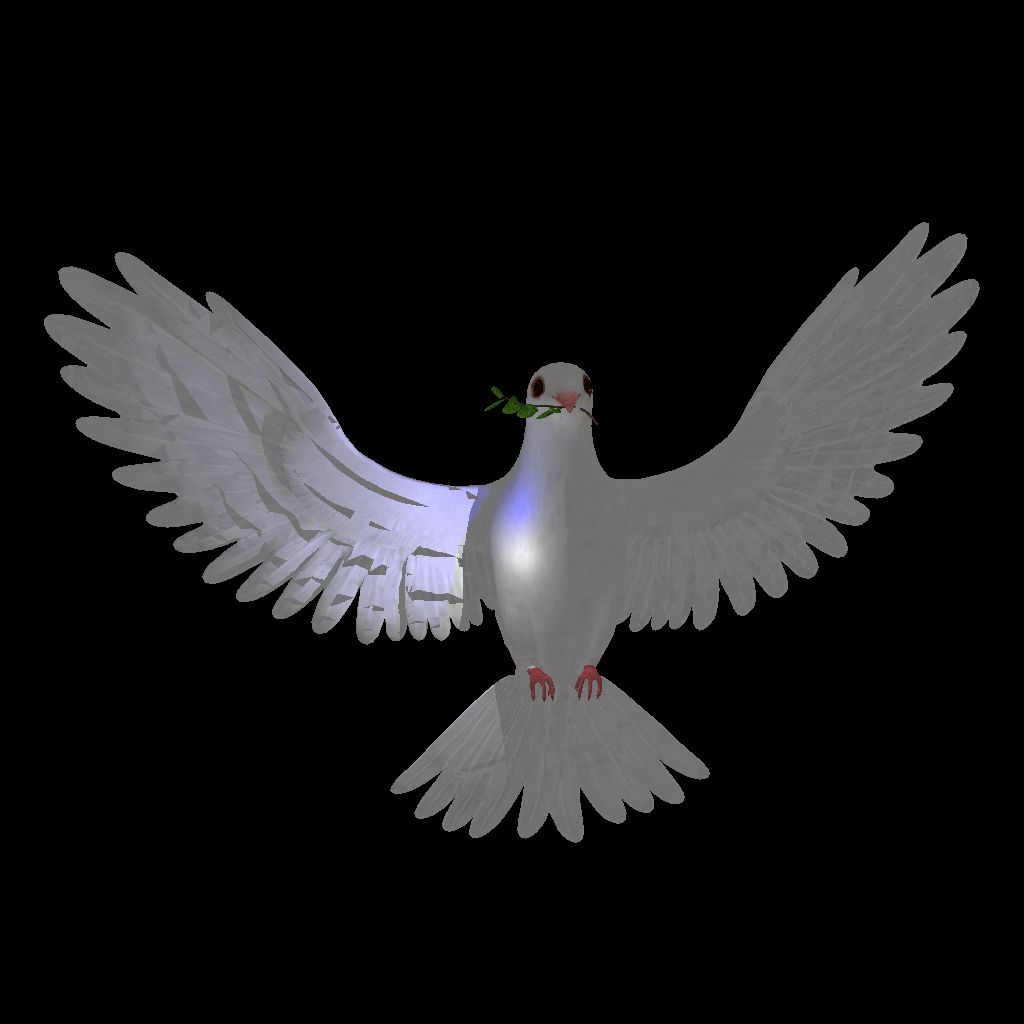
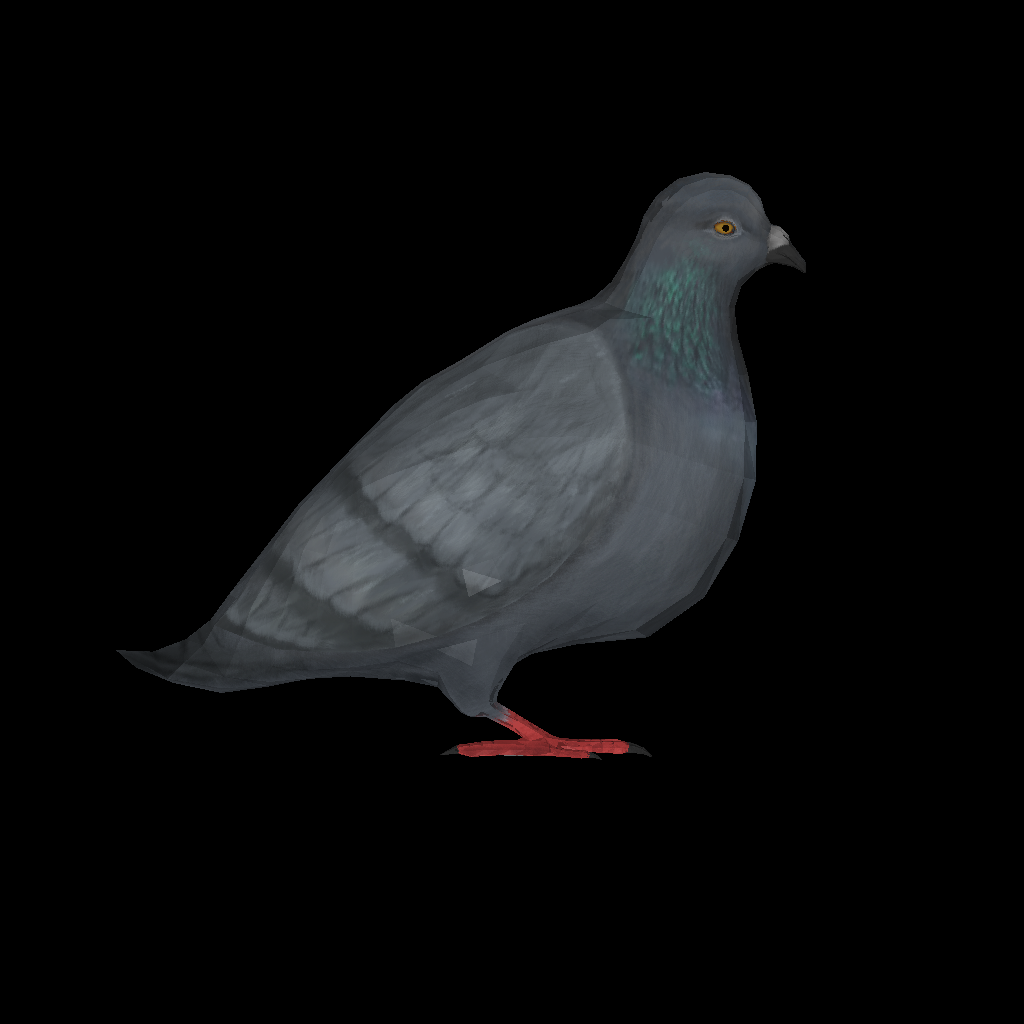
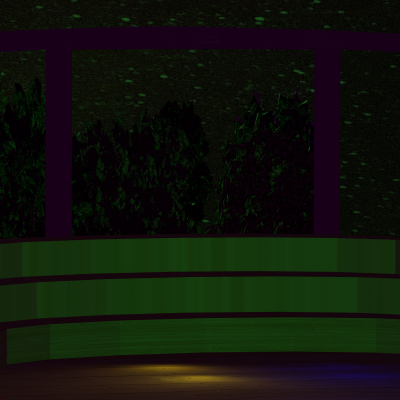
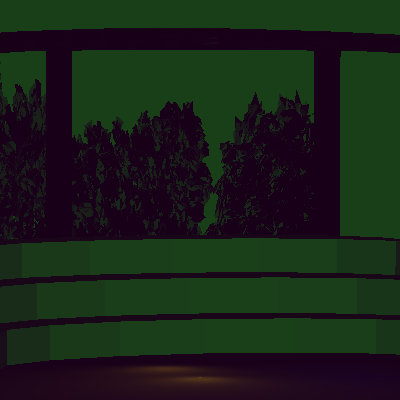
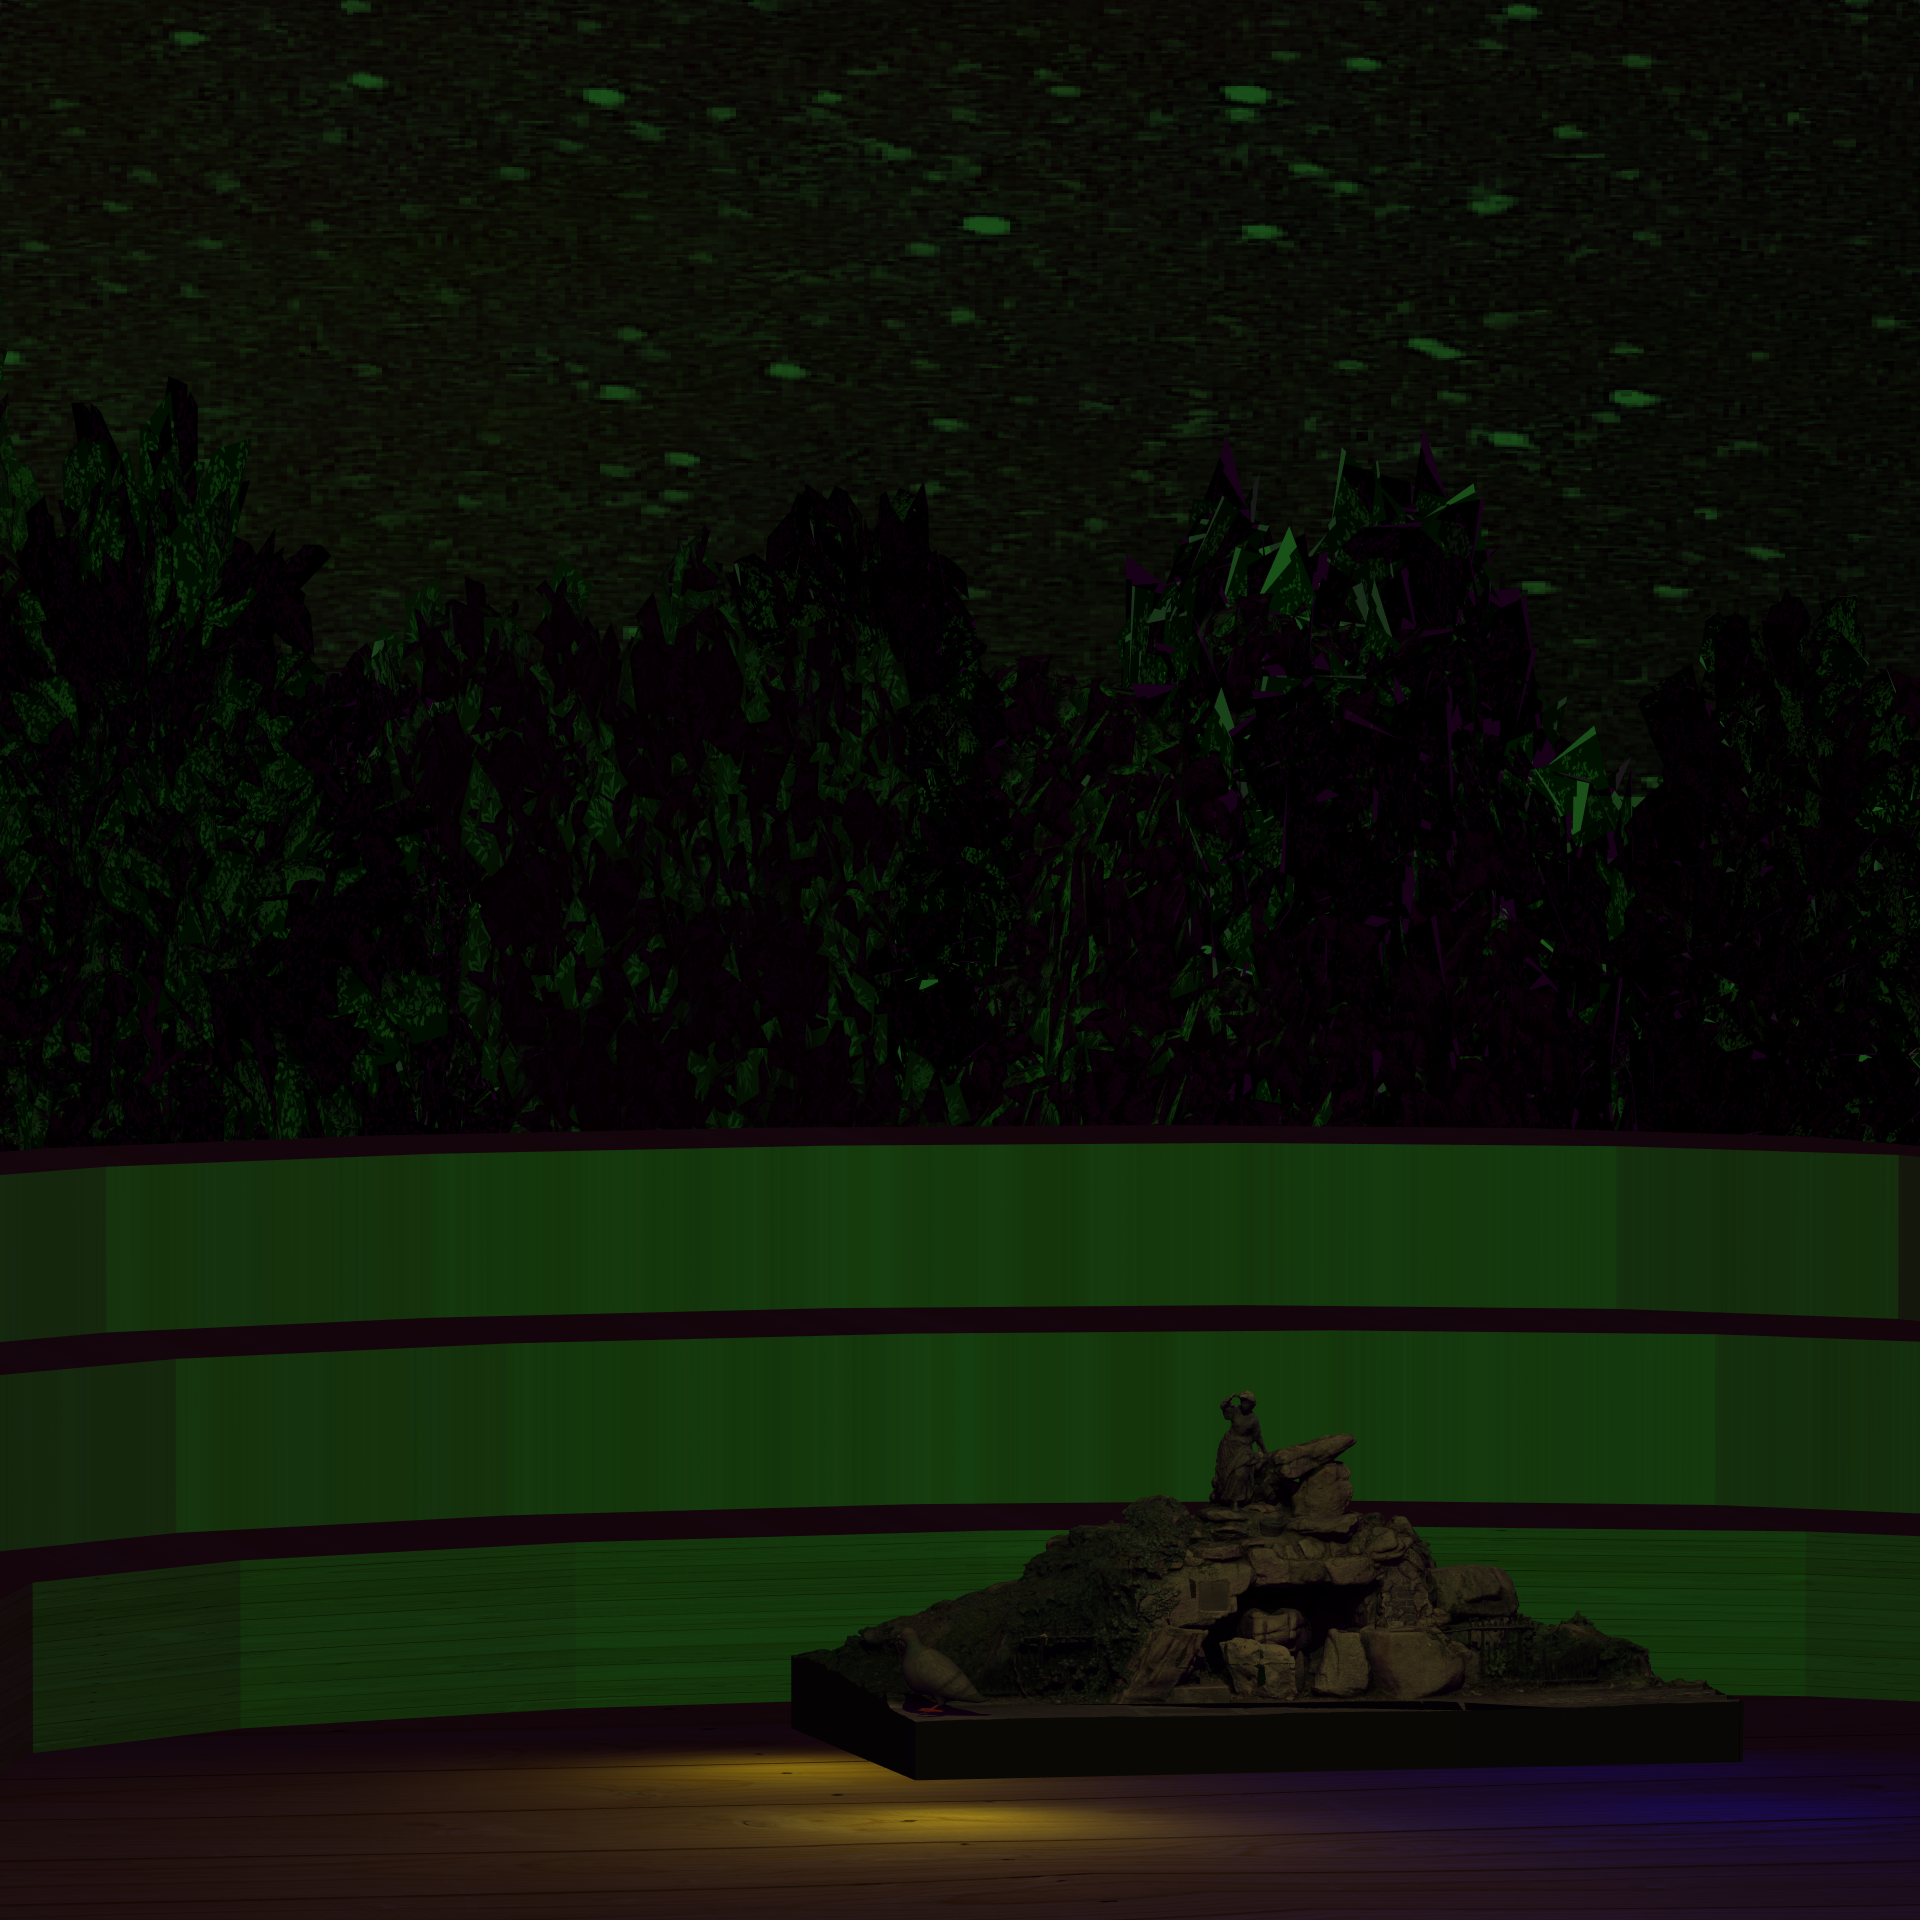
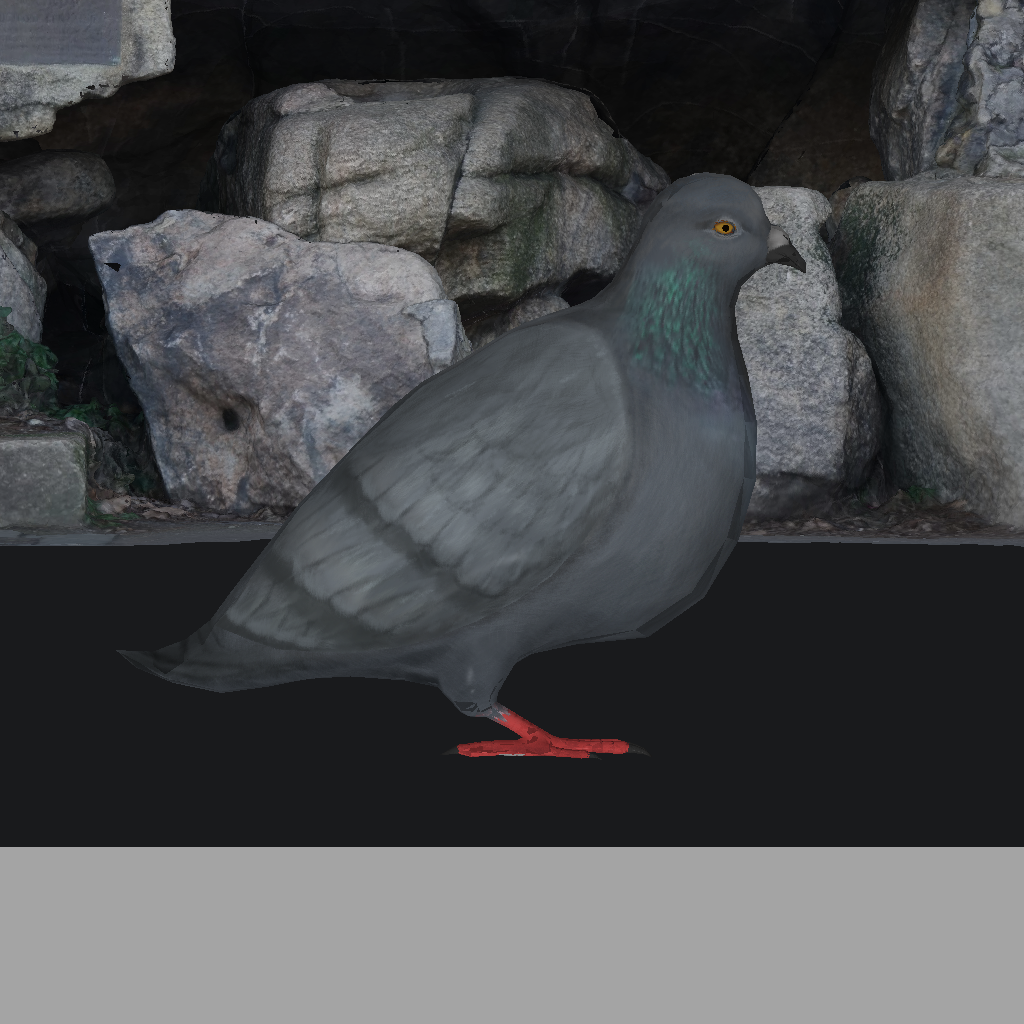
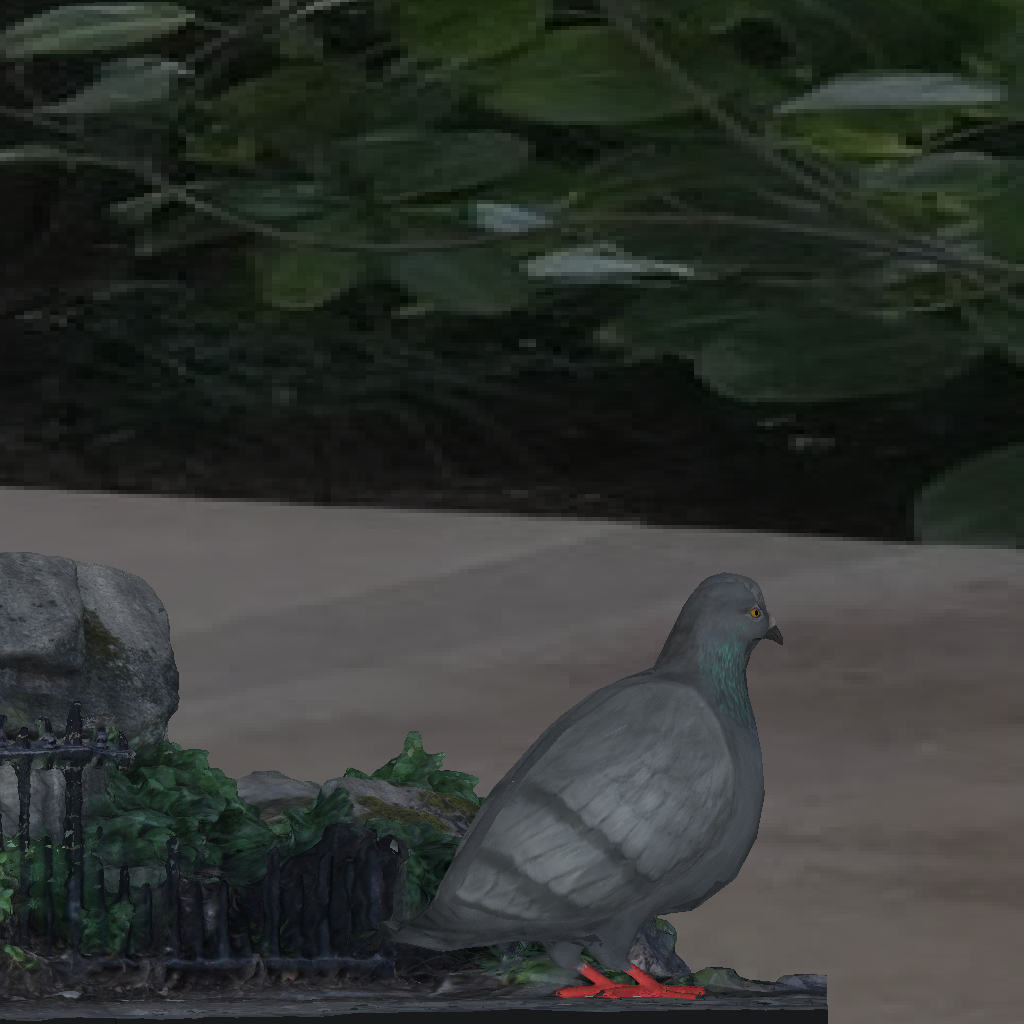
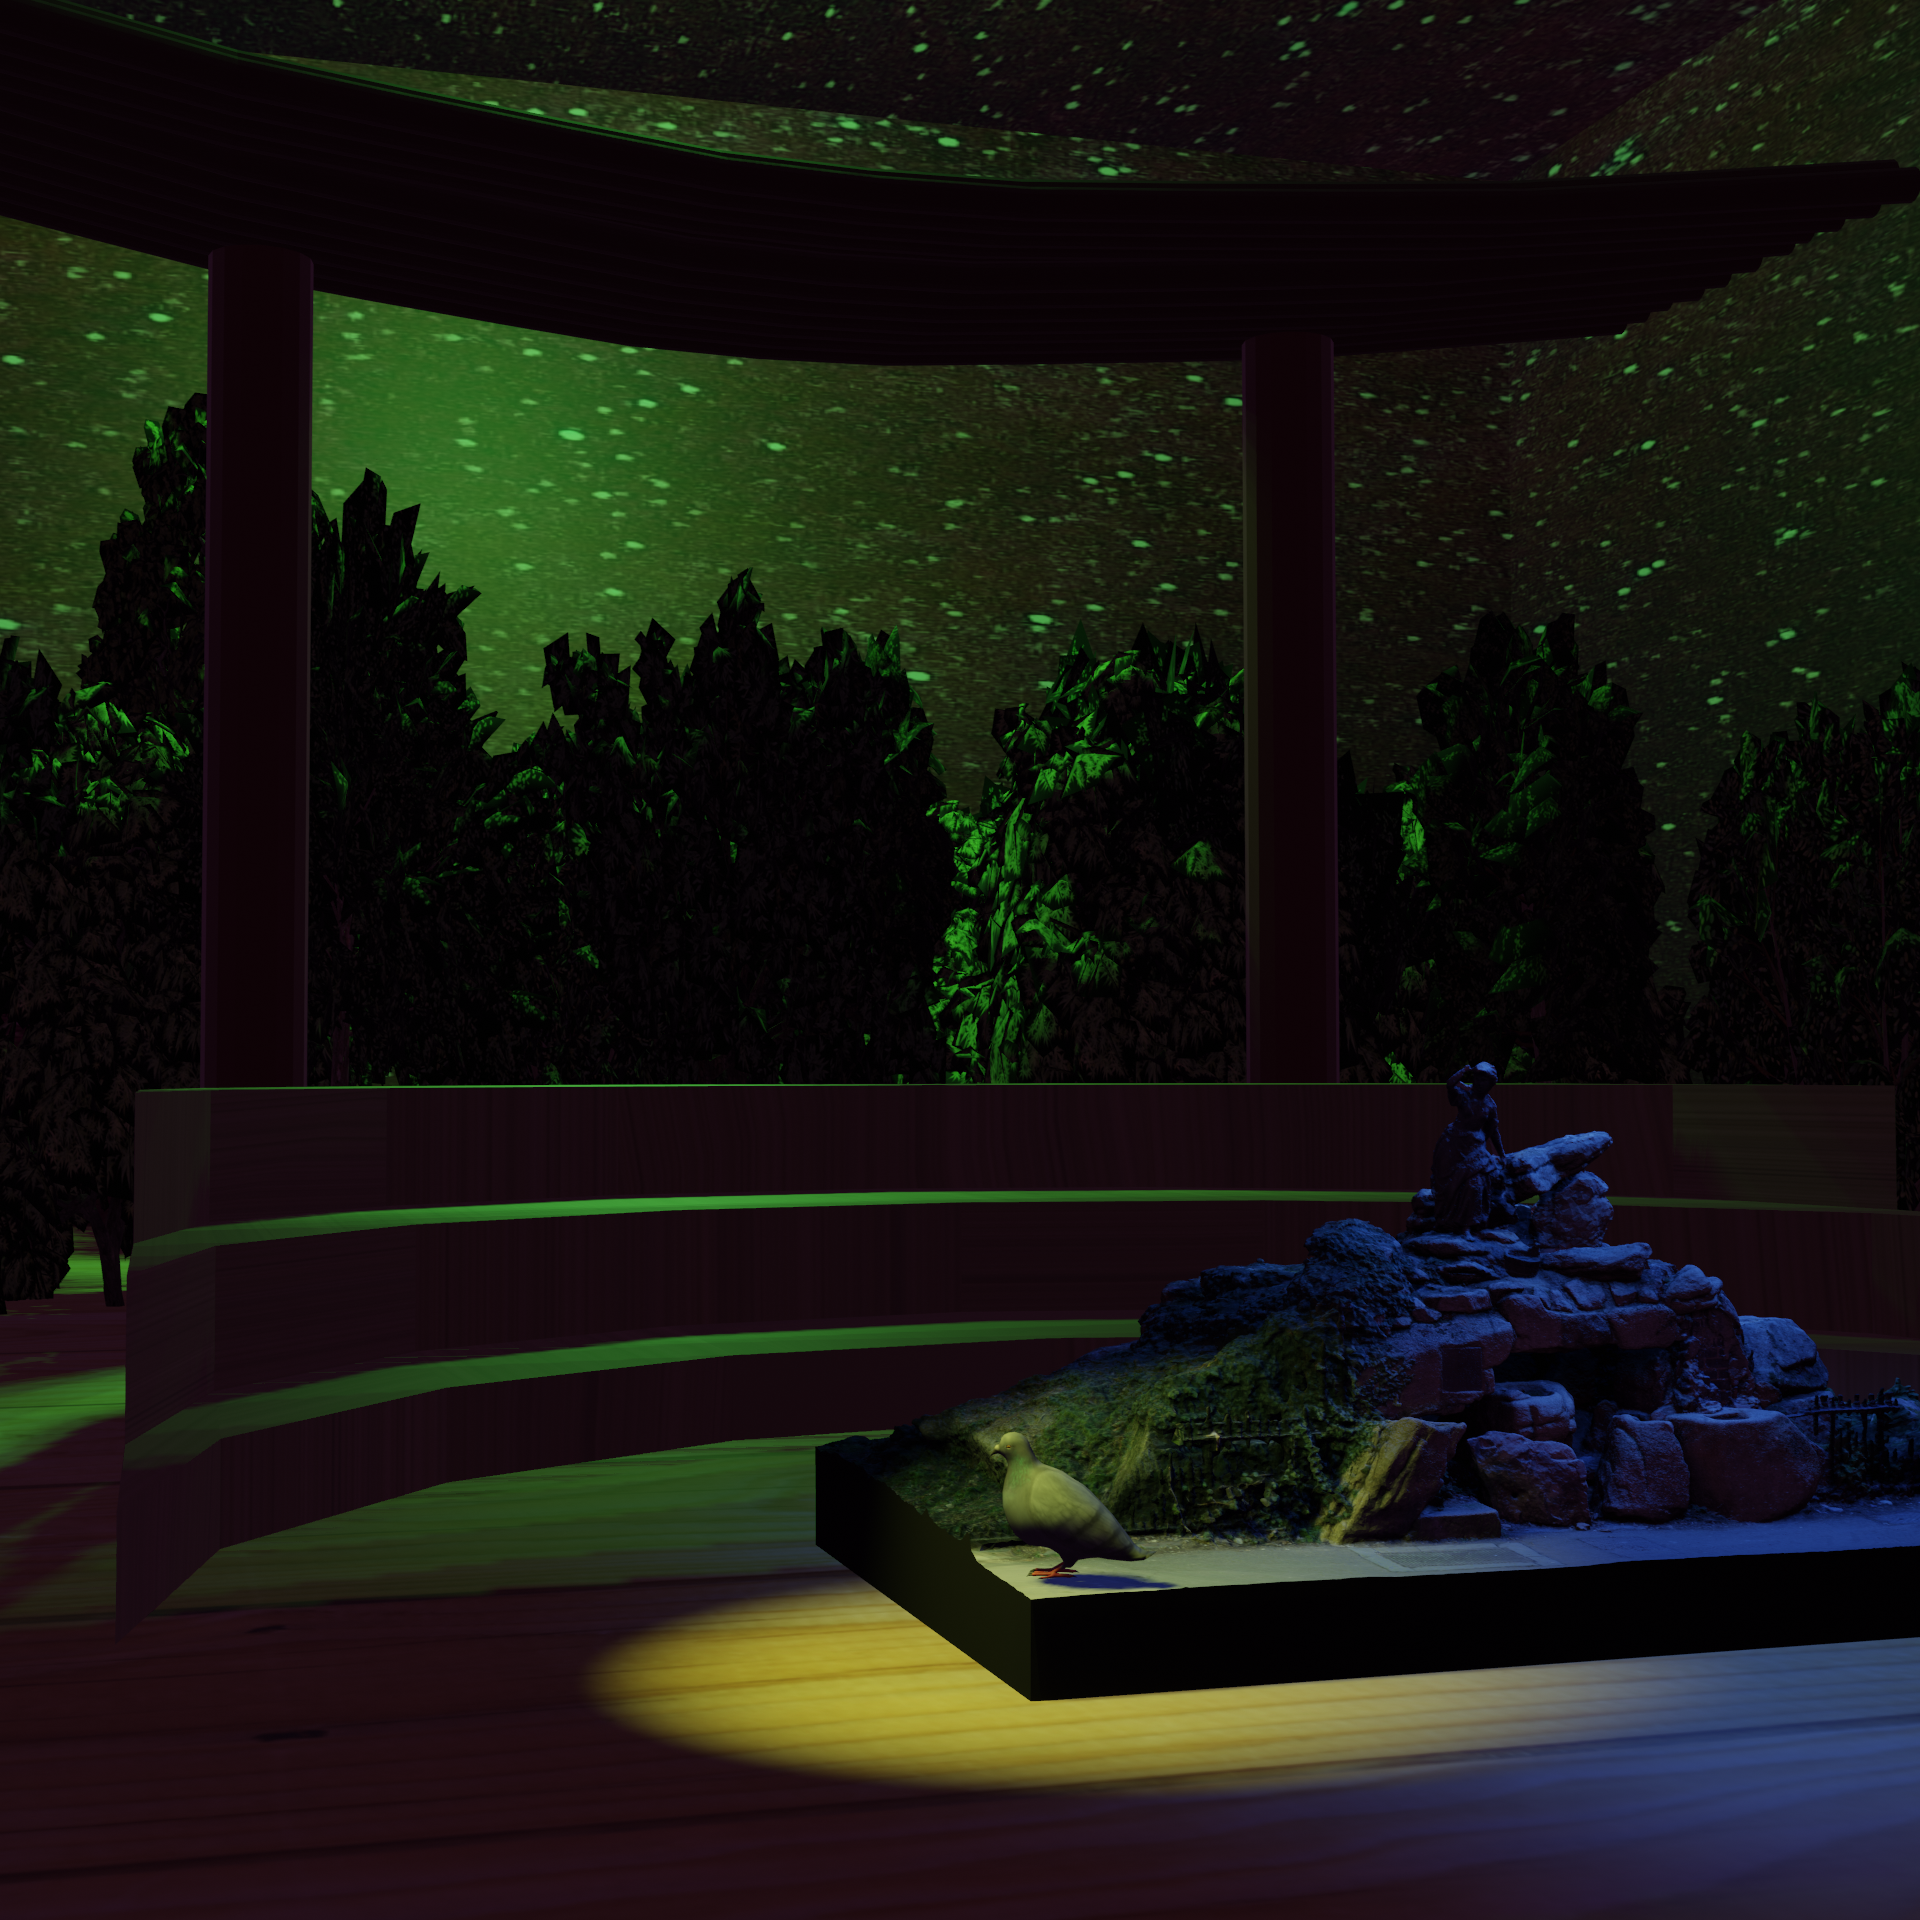
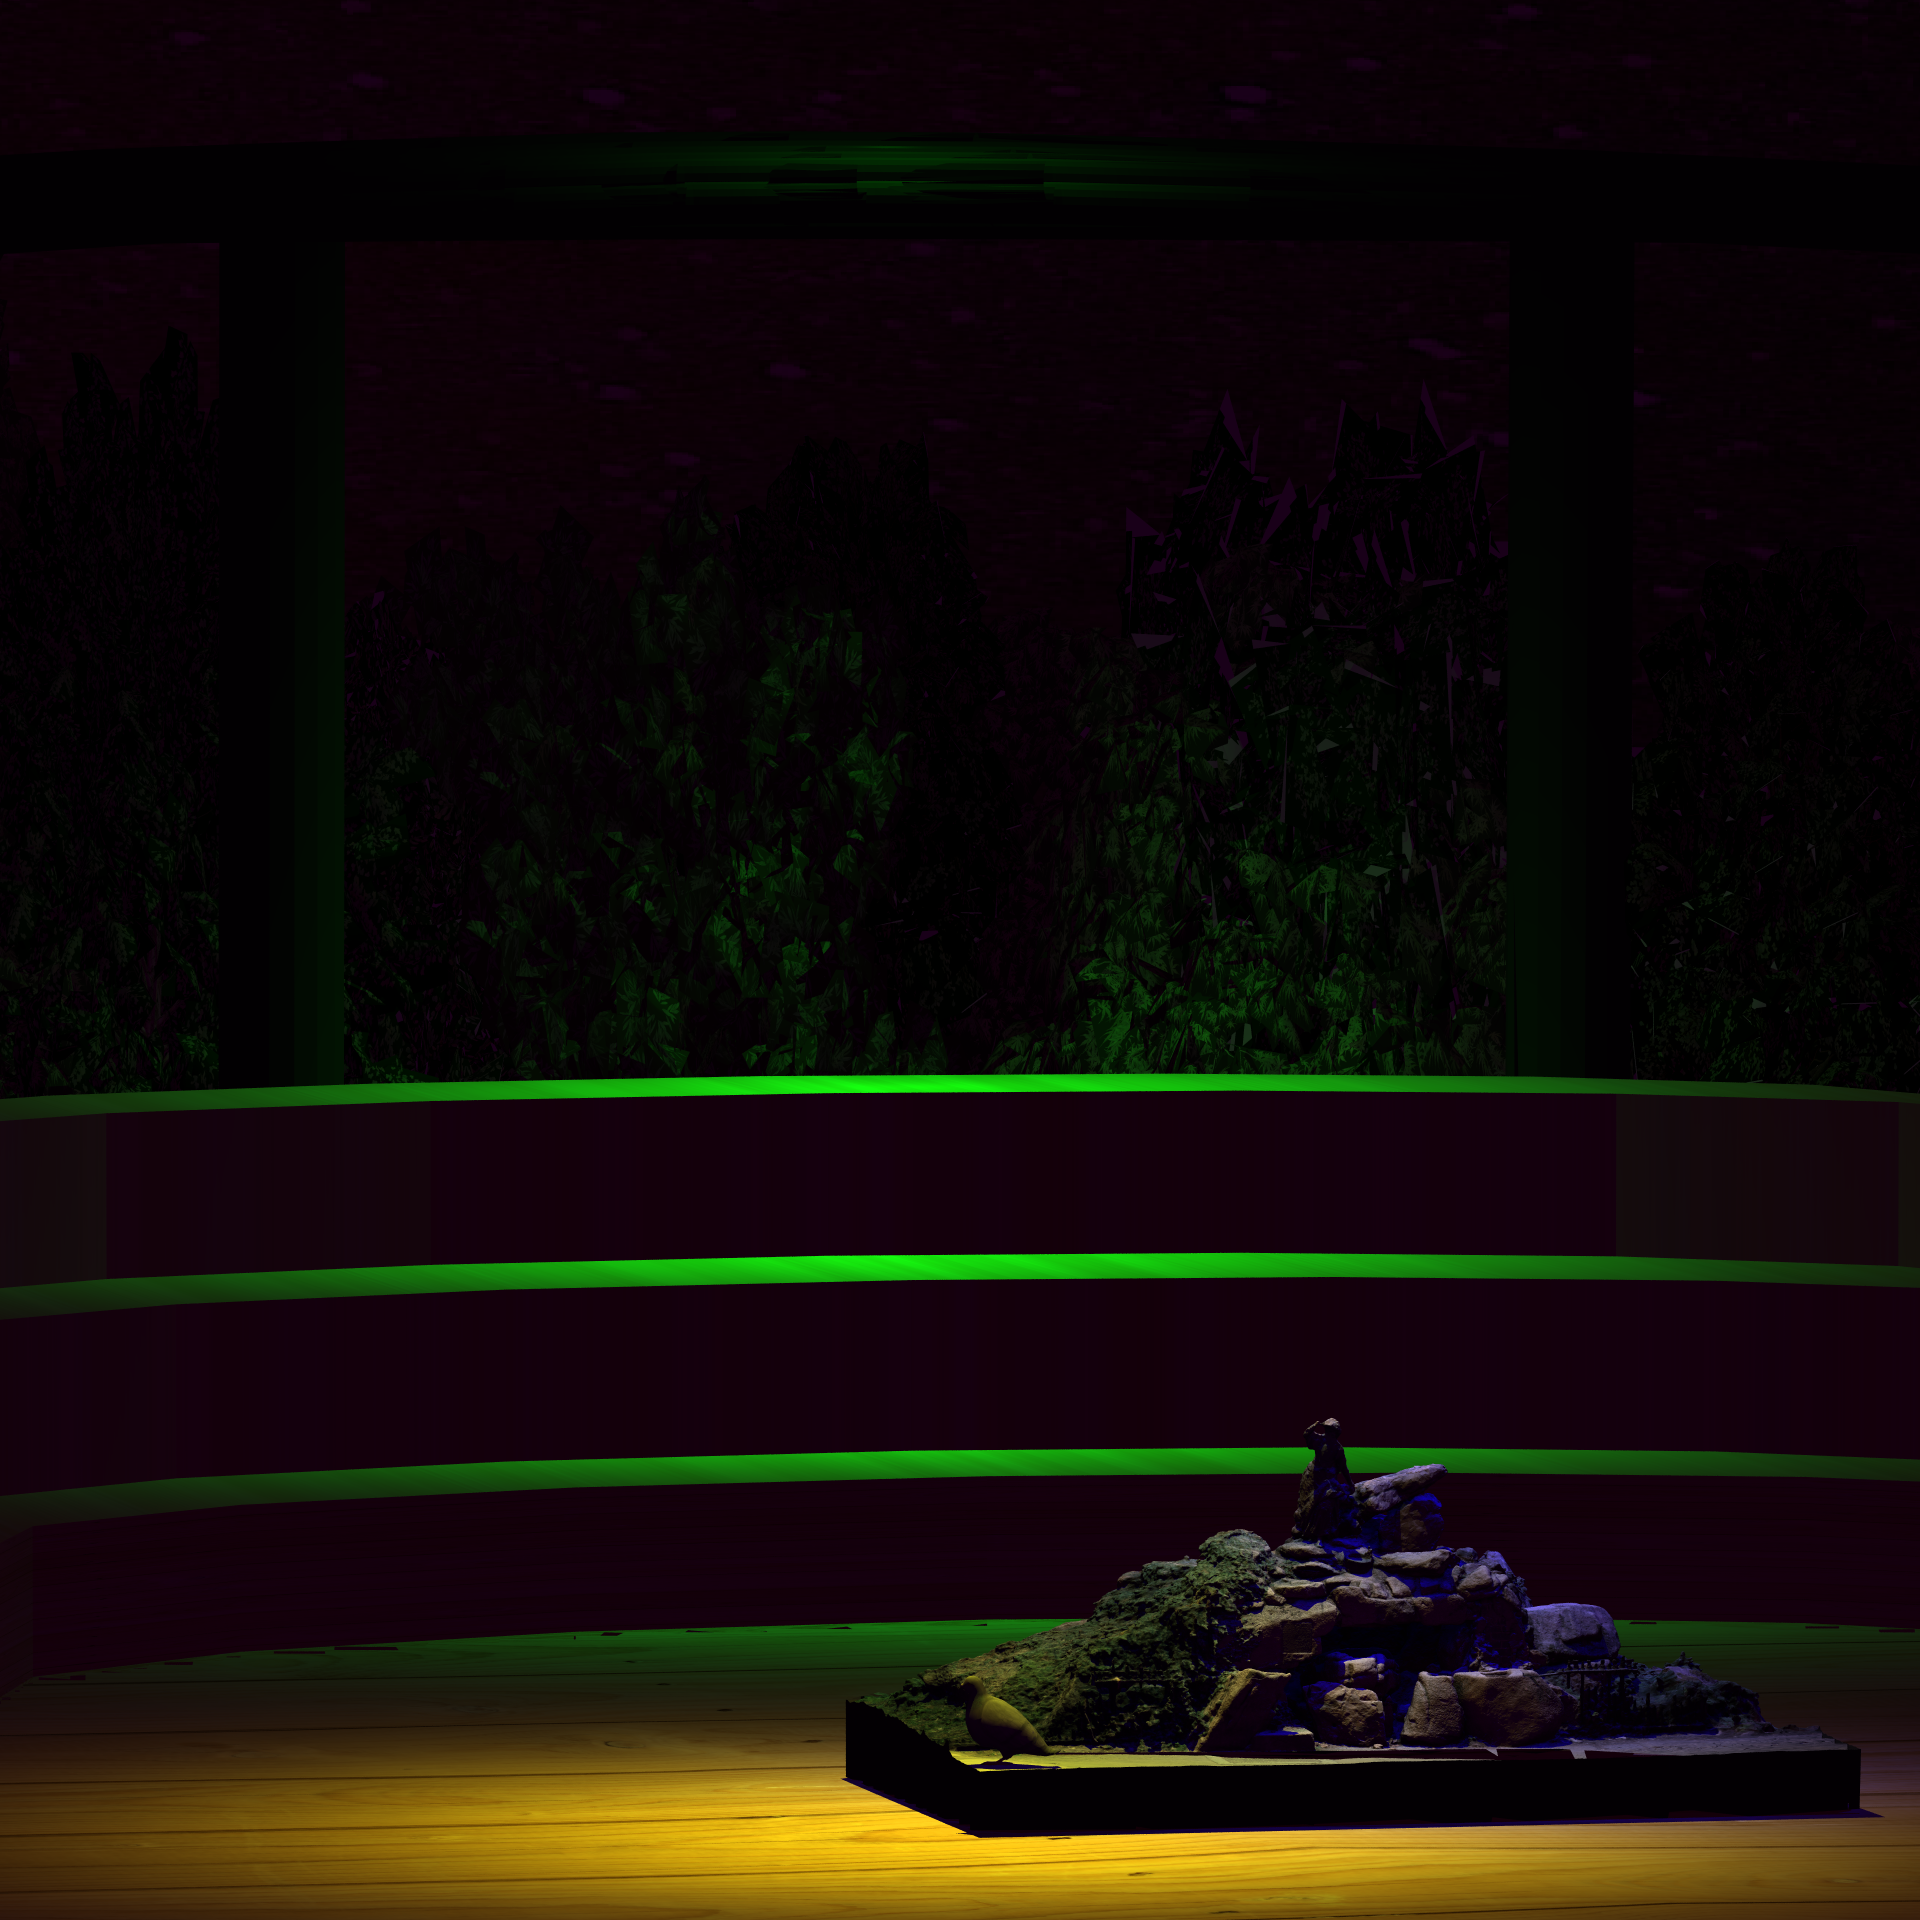
Our concept was to come up with a scene that incorporates Habib context. Among the student body, it is a common belief that the kabootars (pigeons) on campus are here to protect us, to provide us with "Zen". It is at this point that the realization of there being a space on campus by the same name struck to us. Thus, the concept on the right was born. This image is a blender render, and presents a kabootar on top of the fountain at the Zen Garden at Habib University.